Mastering Layout Grids in Figma: A Comprehensive Tutorial
No results found
12/29/2023
Mastering Layout Grids in Figma: A Comprehensive Tutorial
In the world of digital design, precision, and consistency are key, and Figma's layout grid allows designers to achieve just that1. This blog will delve deeply into the concept of layout grids and how to effectively implement them in your Figma designs.
Why Layout Grids Matter
Think of layout grids as the underlying structure that keeps your design components organized and aligned2. They provide necessary structure, facilitate hierarchy, and ensure consistency across your designs3. They are not just helpful but are vital for professional design projects, especially when you're designing for various screen sizes or working in a team. Incorporating the grid system in your design process will significantly elevate the quality of your work.
Understanding Grid Basics in Figma
Figma offers three types of grids—Uniform, Column, and Row.
-
Uniform Grids: This type of grid is a series of uniformly spaced fields across your frame or component4. It's ideal for creating modular designs or equally distributing elements.
-
Column Grids: As the name suggests, this grid divides your frame into vertical columns. This is especially useful for web page designs where vertically stacked visual elements are common.
-
Row Grids: These grids partition your frame into horizontal rows. They are ideal for sectioning off different parts of your design.
Understanding these types of grids allows you to apply them in various contexts, improving your design flexibility5.
The Power of Nested Grids
Nested grids are a powerful tool in Figma. They allow you to create a grid within a grid, providing additional structure within individual grid cells6. This is particularly useful when you want to maintain consistency between different sections of your design but each section requires its own unique grid.
Creating Responsive Layout Grids in Figma
Creating a responsive layout grid in Figma is a straightforward process. Here's a step-by-step guide:
- Select the Frame: Start by selecting the frame in the canvas or the Layers panel of the left sidebar.
- Add a Layout Grid: Click next to Layout grids in the right sidebar. By default, it'll apply the Uniform grid.
- Customize the Grid: Choose between a Uniform, Column, or Row grid. You can adjust the count, gutter size, margin, and color to meet your design's requirements7.
Remember, your design should respond to different screen sizes or orientations. Setting horizontal constraints to your parent container can help your design behave responsively with the grid8.
Figma and Text to Design AI Assistant: Unleashing Design Potential
Enhancing your design skills with the knowledge of layout grids, you can elevate your designs to a whole new level. To further streamline your design process, consider integrating the Text To Design Figma Plugin.
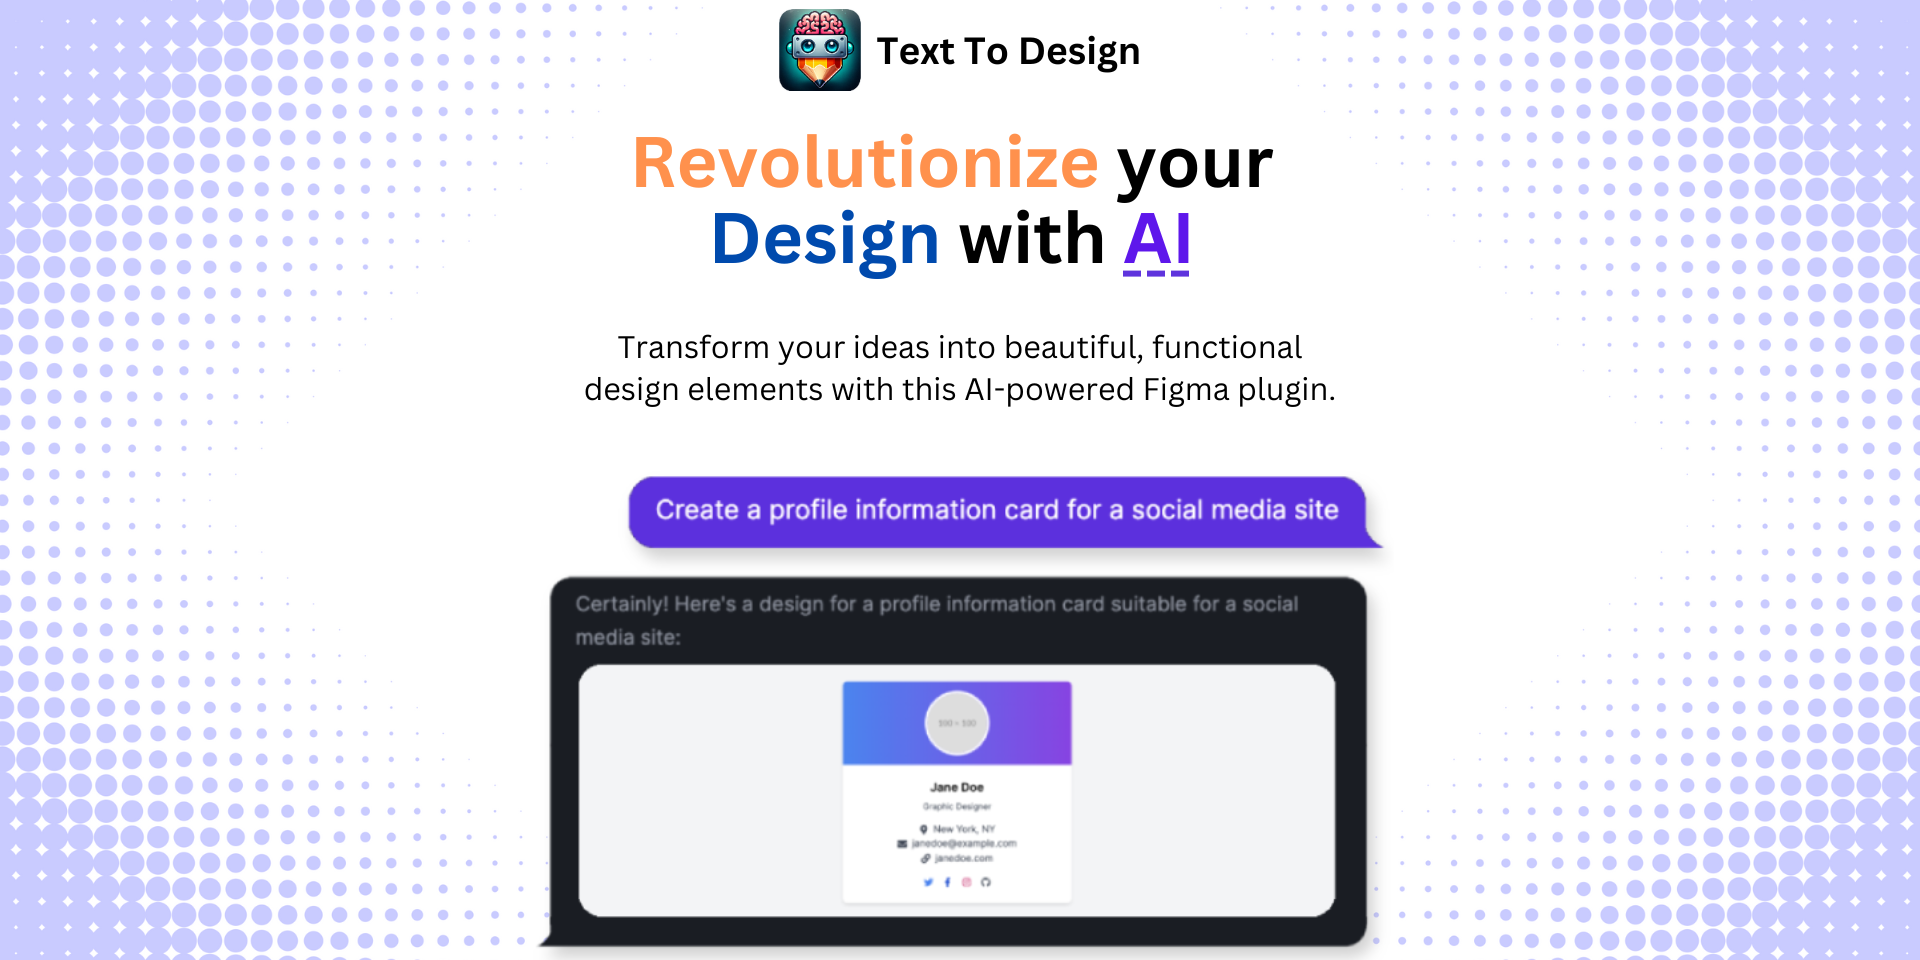
Our advanced AI-powered Figma plugin transforms your text descriptions into innovative design ideas, making it an invaluable tool for designers, developers, and creative teams alike.
The Text To Design AI Assistant can help you implement your newfound knowledge of layout grids in Figma. It provides a simplified, efficient, and effective design process, allowing you to focus on creativity and innovation.
Ready to transform your Figma designs? Try the Text To Design AI Assistant today and experience the difference.
Footnotes
Step Into the Future of Design with your AI Copilot
Join +40K designers revolutionizing their workflow with AI. Install our Text-to-Design plugin in just a few clicks to unlock your creative potential. Start for free and instantly generate designs for your project.